Overview
Ruby on Rails is a web application framework built on the Ruby programming language. Older hosting platforms (< v4.5) support up to Rails 2. Newer platforms before v6 support Rails 3. v6+ platforms support Rails 2-4+ and Ruby 1.8-2.2+ using rvm.
Need a migration to a newer platform to support Rails 4? Just open a ticket in the control panel!
Getting Started
This guide only covers platform versions 4.5+.
Rails 2+ on v6+ platforms
On Sol and newer platforms, you can switch between Ruby versions, and install multiple Rails to suit your requirements. These platforms support Rails versions 2.0 to 4 and beyond.
- Log into the terminal
- Determine what version of Ruby to use with
rvm use.- This must be used at least once on your account to configure rvm’s shim system
cd /var/www ; rvm use 2.2.2
- This must be used at least once on your account to configure rvm’s shim system
- Issue
gem install --no-rdoc --no-ri passenger railsto install Rails from the shell- If using an old version of Ruby (less than 2.0), specify
gem install -y --no-rdoc --no-ri passenger rails
- If using an old version of Ruby (less than 2.0), specify
- Change to /var/www:
cd /var/www - Initialize a new application:
rails myapp - Assign a
PassengerRubyto your application- Generate the proper htaccess directive with
passenger-config --ruby-command - Select the Apache directive, e.g. (use the italicized directive)
- To use in Apache: PassengerRuby /.socket/ruby/gems/ruby-2.1.2/wrappers/ruby
- Important: select the PassengerRuby with wrappers/ in the path, not bin/. The wrapper populates necessary gem environment variables
- To use in Apache: PassengerRuby /.socket/ruby/gems/ruby-2.1.2/wrappers/ruby
- Add that Apache directive to a file called
.htaccesslocated within the public/ directory,/var/www/myapp/publicin this case.
- Generate the proper htaccess directive with
- Verify all dependencies are installed in /var/www/myapp. This will take a few minutes to complete:
-
cd /var/www/myapp
bundle install
-
- Connect your Rails application to a URL:
- Visit Web > Subdomains within the control panel. Create a new subdomain called rails with the document root
/var/www/myapp/public
Adding a Rails subdomain in the CP.
- Visit Web > Subdomains within the control panel. Create a new subdomain called rails with the document root
- Rails application will start in Production mode, but requires a secret key. Set
secret_key_baseinconfig/secrets.yml - Enjoy!
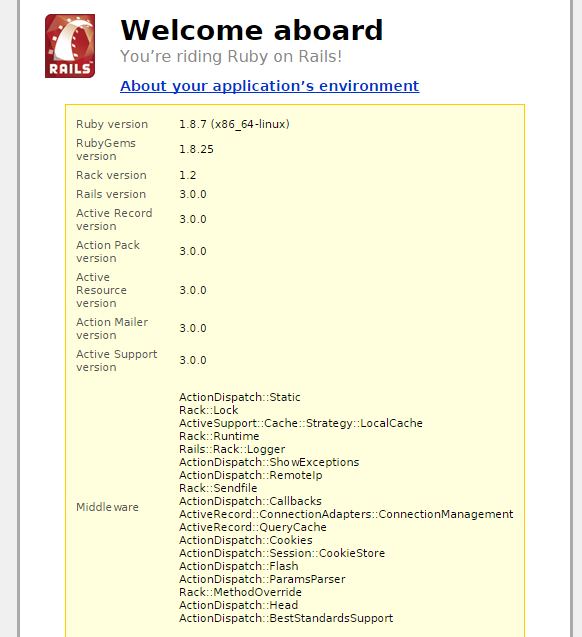
Sample install from Rails v3 installed using Ruby 1.8
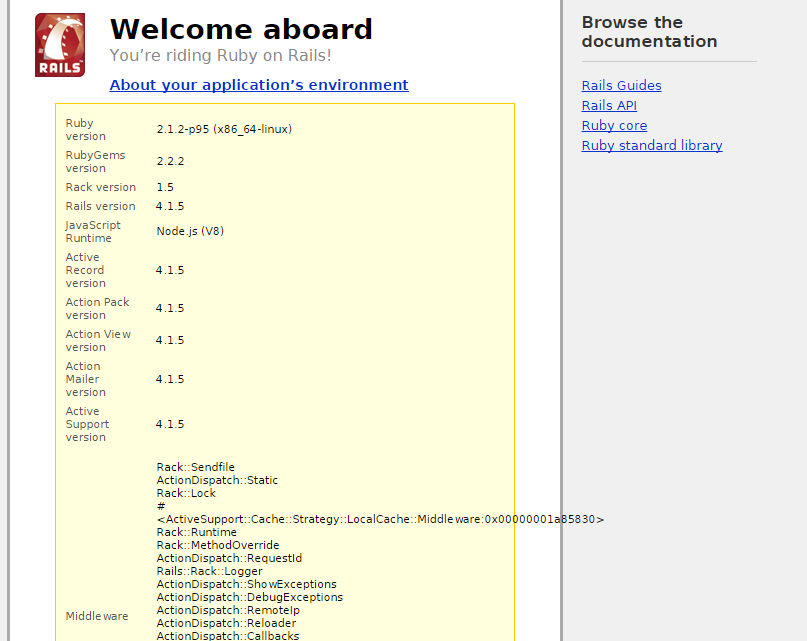
Sample install from Rails v4 using Ruby 2.2
Rails 2 or 3 on pre-v6
Running on an older platform and nestled in your home? No problem! Rails 2 or 3 can be setup using mod_passenger and rubygems.
- Log into the terminal
- Issue
gem install -v '< 4.0' --no-rdoc --no-ri -y rails- Ruby on Rails will install the latest available 3.x release
- –no-rdoc and –no-ri will omit documentation and irb files to reduce storage consumption
- Servers are tied to Ruby 1.9.1 (v4.5) or 1.9.3 (v5) depending upon platform
- Change to /var/www:
cd /var/www - Initialize a new application:
rails myapp - Assign a
RailsBaseUriandPassengerAppRootfor your application- Both are Apache directives added to a file called
.htaccesslocated within the public/ directory,/var/www/myapp/publicin this case. - For RailsBaseUri, specify the directive:
RailsBaseUri / - For PassengerAppRoot on 7.5+ platforms, it is the location below public/, such as /var/www/myapp
- For platforms older than 7.5, take the HTTP base path within the control panel under Account > Summary > Web > HTTP Base Path. PassengerAppRoot is the HTTP Base Path + App Path in Terminal, e.g.
PassengerAppRoot /home/virtual/site12/fst/var/www/myapp
- For platforms older than 7.5, take the HTTP base path within the control panel under Account > Summary > Web > HTTP Base Path. PassengerAppRoot is the HTTP Base Path + App Path in Terminal, e.g.
- Add both lines to your
.htaccessfile.
- Both are Apache directives added to a file called
- Edit
environment.rbinmyapp/environments/to load sqlite3.- Navigate to Rails::Initializer and add config.gem:
Rails::Initializer.run do |config|
   # Settings in config/environments/* take ...
   # Comments ...

   config.gem "sqlite3"

   # more comments ...
end
- Navigate to Rails::Initializer and add config.gem:
- Connect your Rails application to a URL:
- visit Web > Subdomains within the control panel. Create a new subdomain called rails with the document root
/var/www/myapp/publicAdding a Rails subdomain in the CP.
- visit Web > Subdomains within the control panel. Create a new subdomain called rails with the document root
- Enjoy!
Switching environments
By default, Rails applications start in production mode, which ratchets down verbosity and runs faster than development mode. During the course of development it may be necessary to change to development mode to facilitate debugging or testing out interim features. To make a change, add SetEnv RAILS_ENV development to your .htaccess file located within the public/ folder of the application.
Restarting your app
An app may either be restarted upon each request or at a single point. To restart an app every invocation, create a file called always_restart.txt in tmp/: touch tmp/always_restart.txt. To perform a single restart, create a file called restart.txt in tmp/: touch tmp/restart.txt. Passenger, which handles process management, will compare the timestamp with its internal record and restart as necessary. To restart a second time, either reissue the command or delete, then recreate the file to update its modification time.
Viewing launcher errors
On newer v6 platforms, launcher errors may be viewed through the consolidated log file, /var/log/passenger.log.
See also
- Ruby on Rails Guides
- Ruby on Rails Tutorial: Learn Web Development with Rails e-book
- A better way to manage the Rails secret token
- Concurrent implementations of Rails v2, v3, and v4 on Sol (v6 platform)